Pages

WELCOME

This blog was created to act as a record of the cards and other projects that I have made. It is for both my own reference and to help inspire anyone who wants to take a look.

I'd love it if you'd leave me a comment so that I know what you think of my projects and that you've been to visit!

Anyone can comment, even those who don't have a blog. (Just look for the word 'Comments' under the three little pictures at the end of each post). Readers without a blog can add an anonymous comment, but please leave your name (and docrafts username if applicable) so I know who you are!

Slideshows of all the cards I've uploaded to my blog can be found at the bottom of the page.


PEOPLE WHO FOLLOW MY BLOG

Monday, 7 March 2011

Sunday, 6 March 2011

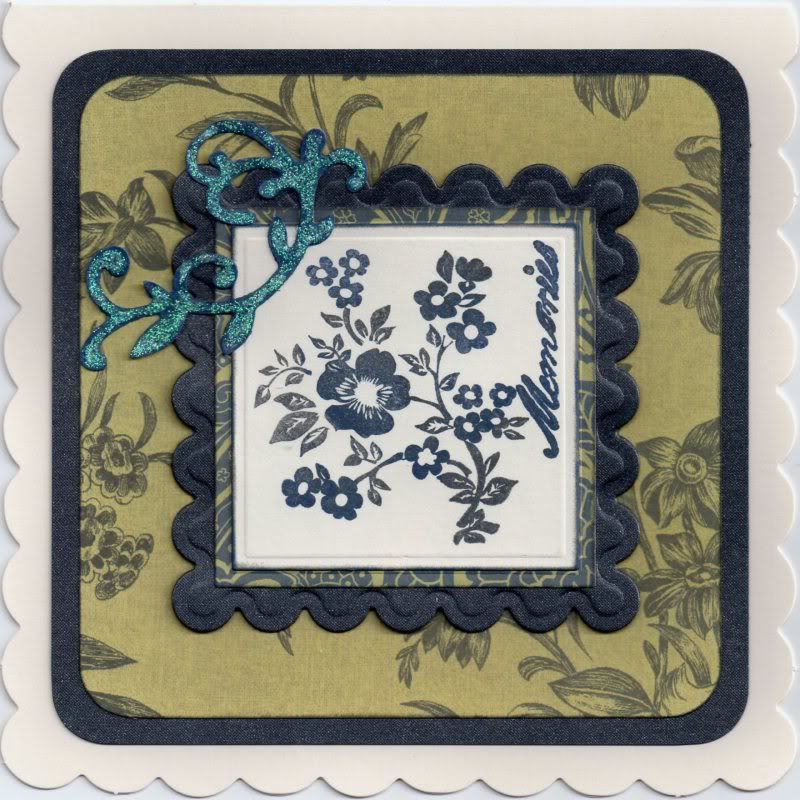
Dark Blue and Green Scalloped Florals

Here is an anniversary card that I made for a couple of pals over on the docrafts forum, both of whom celebrated their anniversaries on Valentine's Day. This is something a little different for me and was inspired by the very talented Ikki. The inspiration for this card is here.


I have just noticed that I managed to choose exactly the same papers as Ikki, which wasn't my intention, it's just that those two seemed to go together best when I looked through all the papers. Just goes to show we both have a great eye for co-ordination!

A square was die cut using a Nestabilities die and the image, from the Papermania Jesse Edwards Memories stamp set, was stamped in the centre and the sentiment, from the same stamp set, along the edge using a combination of Charcoal and Blue Iris ColorBox Fluid Chalk inks.


This was then matted onto a die cut panel of dark blue and green paisley paper from the Laura Ashley Traditional paper pack and a panel of dark blue shimmer card, die cut with a scalloped square Nestabilities die.

A panel of the green and dark blue etched botanicals paper, from the same paper pack, was matted onto a panel of the shimmer card and onto the card blank, from Craftwork Cards. I bought these last year at the Make It show at Farnborough, and this is the first time I've used them!

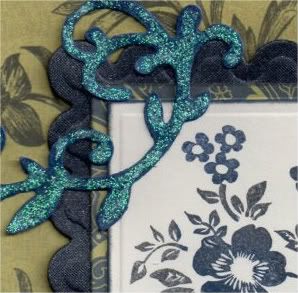
The flourish, cut using the Vine #2 Sizzix Sizzlits die from cream card, was coloured using the blue and grey chalk inks and adhered over the corner of the image panel. It was then highlighted with Craft Planet Iridescent Sparkle glitter glue.

Here are the challenges that I am entering this card into:

Saturday, 5 March 2011

I Got Top 5 at Fussy and Fancy Friday

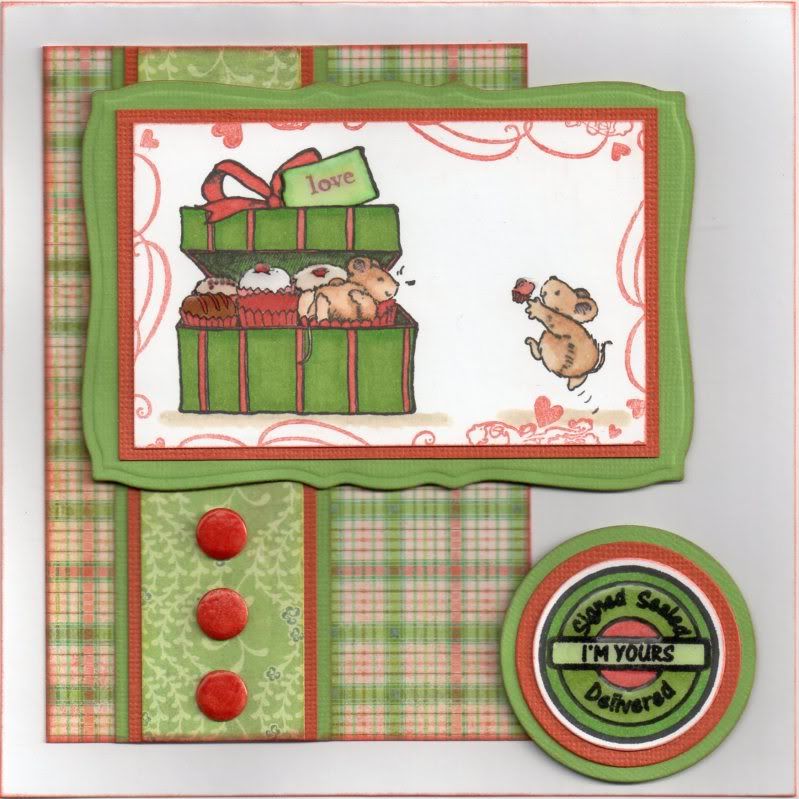
My Green and Terracotta Penny Black Cupcake Mice Anniversary card has been chosen as a Top 5 over on the Fussy and Fancy challenge blog.


The challenge was "Sweet Treats" which this image seemed to fit perfectly!


You can see my original post for this card here.

Thursday, 3 March 2011

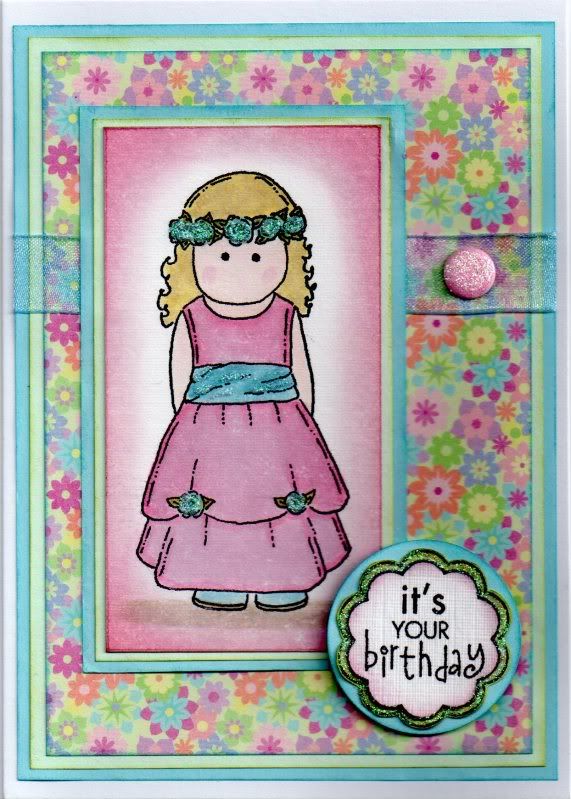
Pink, Blue and Green Posh Milly

Here is another of the cards I made last year and didn't get around to blogging so thought I'd blog it now!


The Posh Milly image from Pink Gem, kindly donated by Judith B in the September 2008 docrafts image  swap, was watercoloured using the Tim Holtz Distress Inks and highlighted using Craft Planet Iridescent Sparkle glitter glue. The edges of the image panel were coloured using the Worn Lipstick and Milled Lavender distress inks. This was then matted onto green and blue paper.

A panel of the multi-floral paper from the K&Co Sparkly Sweet paper pad was also matted onto the green and blue paper and a length of light blue organza ribbon was wrapped around it and the image matted over the top.

A pink card candy from Craftwork Cards was added over the ribbon and covered with the Iridescent Sparkle glitter glue.

The 'It's Your Birthday' circle sentiment from the Hero Arts Birthday Messages stamp set was stamped onto white linen card and green paper. The inner section of the sentiment was cut out from the white linen card and edged with the Worn Lipstick and Milled Lavender inks. The whole sentiment panel was cut from the green paper and all matted onto a circle cut from the blue paper. The sentiment panel was then adhered over the bottom corner of the image panel.

Here are the blog challenges I am entering this card into:

Wednesday, 2 March 2011

I Am A Winner Over On The Top Tip Tuesday Blog Challenge

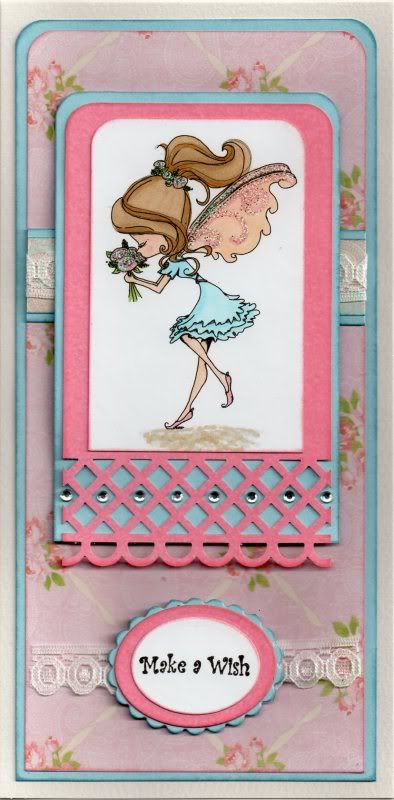
My Blue and Pink Fairy Fae Trellis card has been (randomly) chosen as a winner over on the Top Tip Tuesday challenge blog.
My prize is a $10 gift certificate at Digital Delights. I will have to have a look-see at their images to see what I will get! The challenge was "Bling It On" which I definitely did with this card!


You can see my original post for this card here.

Tuesday, 1 March 2011

Lilac and Apple Lazy Summer Tilda Ovals

Firstly, before I blog this card, I want to say a big thank you to Elaine at Quixotic Cards for drawing my attention to the great tutorial on colouring blonde hair with Copics that Mary J did on her blog and the Quixotic Paperie blog.

I found that, with my three yellow markers, my blonde  hair didn't look right. But with some help from Elaine and Mary J, I've worked out which E markers to use and I think it looks really good - even if I say so myself!!!


The Lazy Summer Tilda image from Magnolia, (which I managed to borrow from Alex during a playday at Julie's) was stamped using Versafine Onyx Black archival pigment ink and coloured using Copic sketch markers:
  • Skin: E00, E21, E51, R20
  • Hair: E40, E41, E43, E51, E57
  • Wings: BV00, BV23, B41
  • Jumper: G12, G14, YG11
  • Pinafore: BV00, BV04, BV31
The image was die cut using a classic oval Nestabilities die and matted onto a green oval and lilac scalloped oval, also die cut using Nestabilities.


A strip of the lilac cherry blossom paper from the Dovecraft Aquamarine Kate Knight paper pack was matted onto green and lilac card. A panel of the green and lilac leaves paper, from the same paper pack, was punched using the Doilly Lace border punch by Martha Stewart, and then matted onto a punched panel of the green card and the lilac card.

The sentiment, from the Papermania Clare Curd Sentiments stamp set was stamped onto a Cuttlebug Oval Stamp die using the Onyx Black ink and matted onto a lilac die cut. I think if I were to make this again, I'd use either a grey or lilac ink for the sentiment - the black looks a little bit too harsh. 

The Tilda image was then highlighted with Craft Planet Iridescent Sparkle glitter glue and a Papermania Snow White gel pen.

Here are the blog challenges that I am entering this card into:
Blog Widget by LinkWithin