Pages

WELCOME

This blog was created to act as a record of the cards and other projects that I have made. It is for both my own reference and to help inspire anyone who wants to take a look.

I'd love it if you'd leave me a comment so that I know what you think of my projects and that you've been to visit!

Anyone can comment, even those who don't have a blog. (Just look for the word 'Comments' under the three little pictures at the end of each post). Readers without a blog can add an anonymous comment, but please leave your name (and docrafts username if applicable) so I know who you are!

Slideshows of all the cards I've uploaded to my blog can be found at the bottom of the page.


PEOPLE WHO FOLLOW MY BLOG

Thursday, 30 June 2011

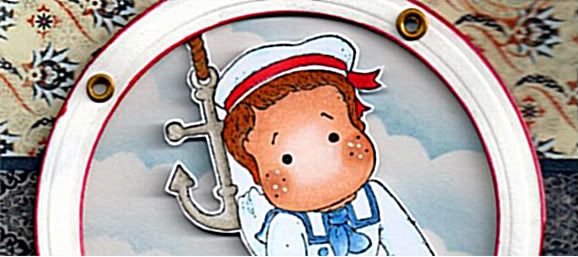
Red, White and Blue Dangling Sea Edwin with Shaving Brush Clouds

Well, I have finally had a go at the shaving brush clouds with the Distress Inks and I have to say I love the technique. A couple of tips I will give however are add a little ink at a time and dab your brush on some scrap paper before applying to your project to check you don't have too much ink on the brush..


Firstly, the Dangling Sea Edwin image, from Magnolia, was stamped using Memento Tuxedo Black dye ink and coloured with Copic markers:
  • Hair: YR00, YR14, YR24, E35
  • Skin: E00, E13, E21, E51
  • Hat: R20, R24, R27, R29, B00, 0
  • Matelot Jacket: B23, B24, B00, 0
  • Shorts/Tie: B21, B23, B24, B26
  • Buttons: B24
  • Socks: B00, C0
  • Shoes: R20, R24, R27, R29. B26
The anchor in the image was highlighted with a clear Sakura Stardust pen, and highlights were added to Edwin's cheeks with a Papermania Snow White gel pen. Tthe image was then cut out.

A circle was cut from white card using a circle Nestabilities die and clouds were created using Tim Holtz Faded Jeans Distress Ink, a hand-cut mask cut from a Post-It note and a shaving brush. Basically, the brush with very little ink, was swirled over the edge of the mask, pinching the bristles of the brush together, focusing them on a smaller area.

A frame was also die cut from white card using two circle Nestabilities dies positioned on a piece of magnetic paper. The shape was then embossed and lightly coloured with Tim Holtz Weathered Wood Distress Ink. The edges of the circle were then coloured with a Copic marker (R29) to make them stand out more and small gold Papermania eyelets were set around the circle to create a porthole.

The cloud background, Edwin image and porthole were then all layered up.
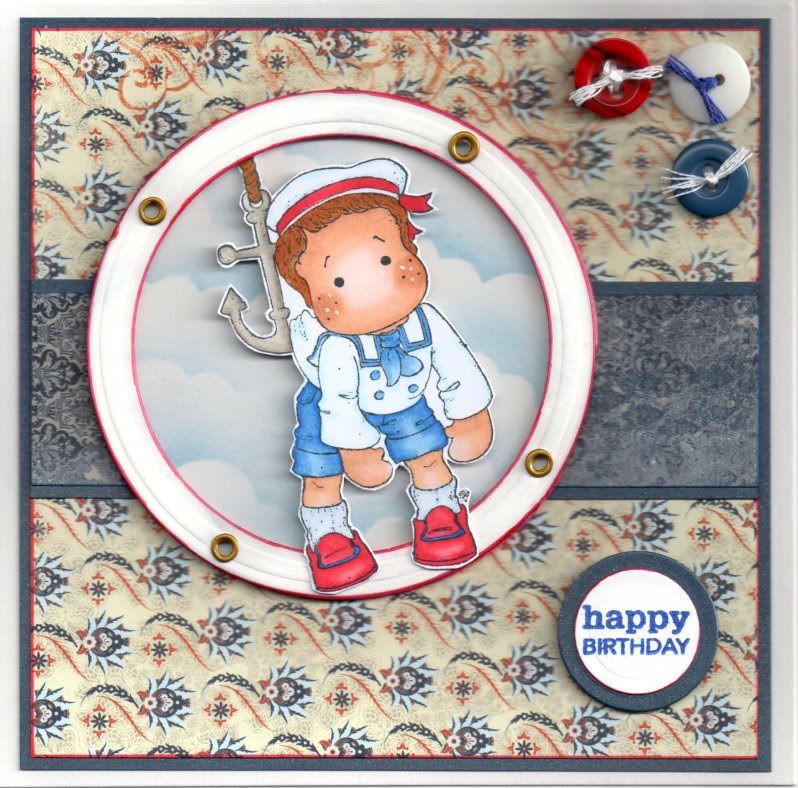

A strip of the Wide Tie paper from the Basic Grey Boxer paper pad was matted onto a strip of navy
shimmer card and matted across a panel of the Oxford paper from the same paper pad. This was then also matted onto the navy shimmer card.

A red and blue button (items I've had in my stash for a very long time now!) were threaded with white embroidery thread and a white button with blue thread and positioned in the top right hand corner.

The 'Happy Birthday' sentiment, from the Personal Impressions Paula Pascual Mixed Sentiments stamp set, was stamped onto a die cut circle of the white card using Versafine Majestic Blue archival pigment ink and matted onto a circle of the navy shimmer card.

Here are the challenges I am entering this card into:

Monday, 27 June 2011

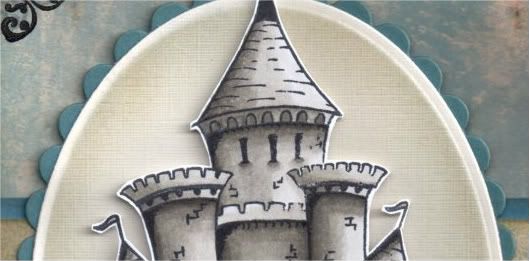
Blue and Grey Paper Artsy Castle

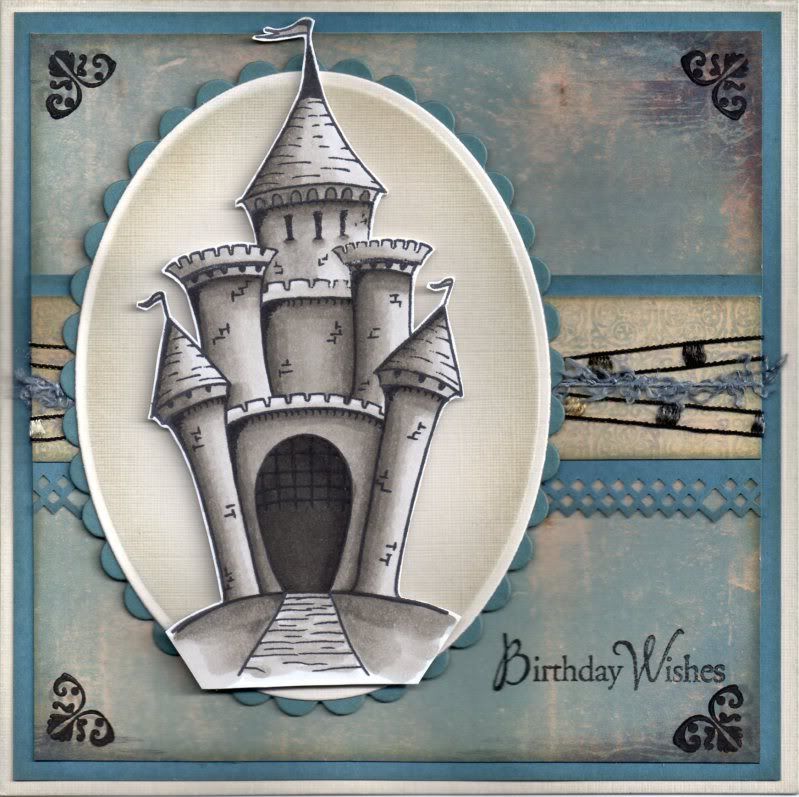
So, as promised, here is the card I made using the Castle stamp from the Paper Artsy Crowns and Castles 4 stamp set.


The Castle image was stamped using Memento Tuxedo Black dye ink and coloured with Copic markers:
  • Castle: W1, W3,W5,W7,W9
The image was then cut out.

Using Nestabilities dies, a petite cream oval and petite scalloped blue oval were die cut. Keeping the cream die cut within the die, the edges were distressed using Tim Holtz Weathered Wood and Antique Linen distress inks with shaving brushes. I much prefer the effect using the brushes to the Cut & Dry foam as I always get heavy smudges when I use the foam, whereas this gives a much softer look.

The Castle image was then mounted in the centre of the ovals.

A panel of the cream and blue medallion paper from the DCWV Once Upon A Time mat stack was then matted onto a strip of the blue card punched with the XCut Diamonds border punch and lengths of brown ladder ribbon and blue fibre from the HOTP Sapphire Sarabooks fibres were wrapped around it.


This was then matted across the blue distressed birds paper from the same mat stack. The edges of all of these pieces were distressed with the two distress inks and then matted onto blue card.

The corners of the blue distressed paper were then stamped using a small corner flourish stamp from the Fiskars Friends Forever Quotes stamp set and Versafine Smokey Gray archival pigment ink and then overstamped with Brilliance Graphite Black pigment ink.

The Birthday Wishes sentiment, from the Hero Arts Birthday Messages stamp set, was stamped in the bottom right corner also using the Graphite Black ink.

Here are the challenges I am entering this card into:

I Made The Top 3 At 2 Sisters Blog Challenge

I've just discovered that I made the Top 3 over on the 2 Sisters blog challenge.


You can see my original post for this card here.

Friday, 24 June 2011

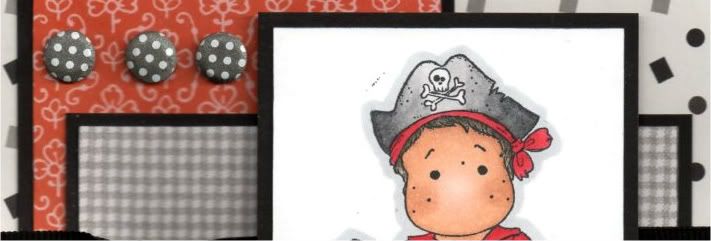
Red, Black and Grey Captain Edwin

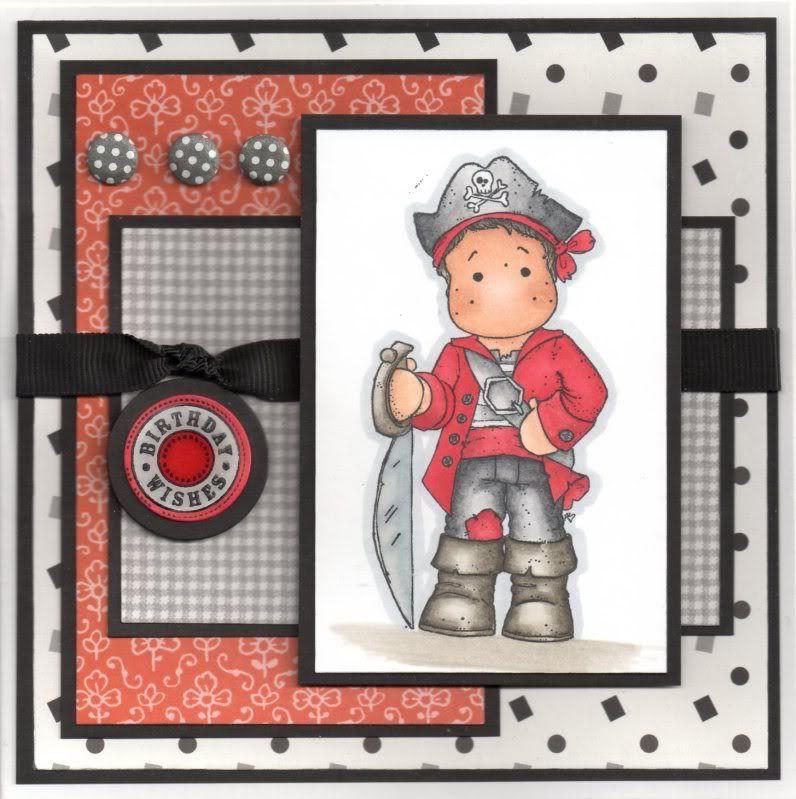
This card was based on a layout in Issue 68 of Papercraft Essentials magazine.


The Captain Edwin image, from Magnolia, was stamped using Memento Tuxedo Black dye ink and coloured with Copics:
  • Hat/Trousers/T-Shirt/Belt: N1, N3, N5, N7
  • Jacket/Bandana: R20, R24, R27, R29, R32, R37, R39
  • Sash/Patch: R32, R37, R39
  • Boots/Sword Hilt: W1, W3, W5, W7
  • Sword Blade/Buckle: C0, C2, C4
  • Buttons: N5
  • Hair: W3, W5, W7
  • Skin: E00, E13, E21, E51
  • Shadow: W1, W3
  • Outline: C2
The image was then matted onto black card.

Patterned papers from the Dovecraft Charcoal Designer paper pack (Dots and Squares), Papermania Monochrome Capsule Collection paper pad (gingham) and Papermania Red Hot Capsule Collection paper pad (red Clover Leaf) were cut to size and matted on the black card and layered up.


A length of black grosgrain ribbon was knotted and added across the layers and the image panel added over the top.

The Birthday Wishes circle sentiment, from the Hero Arts Birthday Messages stamp set, was stamped using Brilliance Graphite Black pigment ink and coloured using Copics:
  • Sentiment Circle: R24, R27, R29, C2
This was then added beneath the knot of the ribbon.

Three dark grey polka dot Card Candi, from Craftwork Cards, were then added in the top left corner.

The sword blade in the image and the circle sentiment were then both highlighted with Anita's 3D gloss.

Here are the blog challenges that I am entering this card into:

Thursday, 23 June 2011

Call Out To All Whimsy Stamps Users

The lovely Ann from Raindrop Echo Designs has put out a request for all users of Whimsy Stamps (real or digi) to submit their cards for the future issue of their virtual magazine.

Here is the request she posted over on the docrafts forum:

Hello everyone! I'm not sure if this is allowed to be posted here, and if not, I apologize. We have seen some traffic coming through these forums to visit our magazine and I thought I would post up this magazine call for those who may be interested. See details below.

Whimsy Stamps Inspirations Magazine will release its next issue in August and we are looking for samples created by you! Our first issue (which you can find here) was a huge success. Would you like to have the chance to have your Whimsy Stamps creation included in the next issue? If so, keep reading!

All creations must include Whimsy Stamps images whether rubber, digi, or sentiments. We have specific themes for the next issue which are listed below. Please remember these need to be never before seen or posted creations.

Deadline: August 1st

Themes of interest:
  • Using Whimsy Stamps' exclusive line of Shapeology dies
  • Combining Whimsy artists (for example: Crissy’s Fancy Bench and KennyK’s Queens Cutie, or Meljen’s Baby Bunny Bottle and Raindrop Echo Designs Welcome Baby Sentiments)
  • Beyond Cards: Anything-but-a-card creations
  • Using doilies, twine, sewing, distressing, and wet/dry embossing
  • Masculine-themed cards
  • Summer/Travel theme
  • Glitz and Glam
Please email all submissions to Whimsy Magazine with your name and blog address (if applicable) and also include the following information with your submissions along with photograph(s) of your creations. We welcome all types of creations!

Creation information:
  • Stamps:
  • Ink:
  • Coloring medium:
  • Papers:
  • Embellishments:
  • Tools:
  • Other:
  • Quick how-to (optional):
We will send you a confirmation message that we have received your submission. If you have any questions, feel free to email us at Whimsy Magazine. We look forward to hearing from you and thank you for your support!

Ann Vento
Raindrop Echo Designs
http://raindropecho.com/
http://raindropechodesigns.blogspot.com/

Tuesday, 21 June 2011

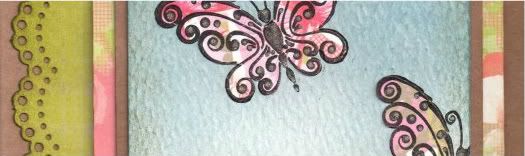
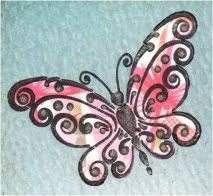
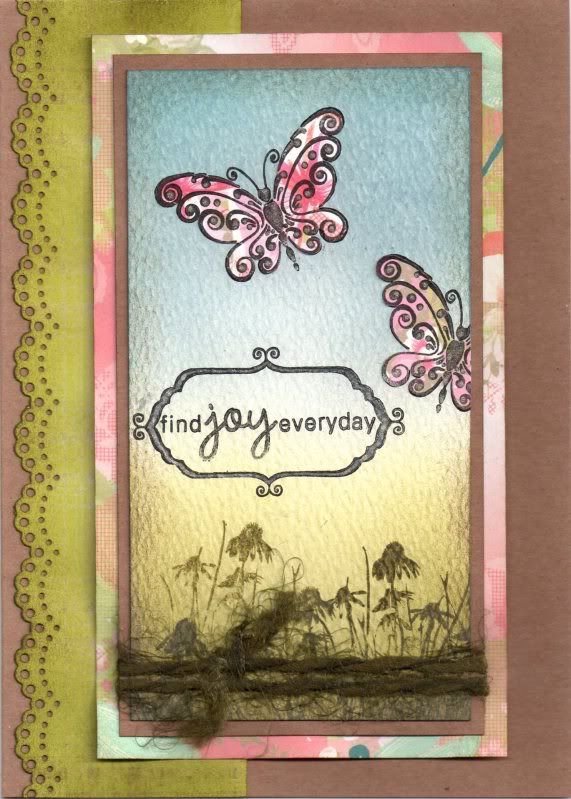
Pink Green and Blue Paper Pieced Butterflies

Well, as promised here is my attempt at colouring with Distress Inks and the shaving brushes from Wilkinsons in place of the much more expensive Inkdusters or similar. The card I made, an anniversary card, was actually based on a beautiful tag created by the very talented ClarkyJ and you can see her stunning masterpiece here.

Having looked back at Janet's tag, I realized hers looks more balanced as she has followed the 'rule of thirds' whereas mine is more half and half. I shall try and remember that for the future!!


I started by stamping the Butterfly image, from Chocolate Baroque/Craft Stamper, onto pieces of the pink butterfly paper from the Papermania Summer Bloom paper pad using Brilliance Graphite Black pigment ink and cutting them out.

A piece of white textured card was coloured using the shaving brushes and a selection of Tim Holtz Distress inks. The green area was created using Shabby Shutters and Forest Moss and the blue area using Weathered Wood and Faded Jeans. The edges were then distressed with the Walnut Stain ink. In retrospect, I think maybe Antique Linen may have been a better idea - never mind!

The green area was then overstamped using the Forest Moss ink and the Cone Flower and Grass stamp from the Inkadinkado Meadow stamp set.


The butterfly image was stamped a couple of times onto the blue area and then paper pieced using the pieces already cut out. The excess was cut away from the edge of the panel.


The sentiment, from the Hero Arts Anytime Messages stamp set, was then stamped onto the panel using the Graphite Black ink and then a frame from the Papermania Mix and Match Frames stamp set was stamped to go around it. The frame section was coloured in using a black Whispers Brushstroke marker.

A clear Sakura Stardust pen was then used to trace over the frame and the word 'JOY' and on the swirly sections of the butterflies. You can just make it out on the above pictures.

A length of green fibres from the HOTP Emerald Sarabooks Fibre Pack was then tied around the panel and this was then matted onto a panel of the pink dragonfly paper from the Summer Bloom paper pad.


A strip of the lime green plaid paper from the same paper pad was punched using the Martha Stewart Doilly Lace border punch and distressed with the Forest Moss ink. This was matted directly onto the card blank and the image panel matted over the top to the right of the card blank.

Here are the challenges I am entering this card into:
Blog Widget by LinkWithin