Pages

WELCOME

This blog was created to act as a record of the cards and other projects that I have made. It is for both my own reference and to help inspire anyone who wants to take a look.

I'd love it if you'd leave me a comment so that I know what you think of my projects and that you've been to visit!

Anyone can comment, even those who don't have a blog. (Just look for the word 'Comments' under the three little pictures at the end of each post). Readers without a blog can add an anonymous comment, but please leave your name (and docrafts username if applicable) so I know who you are!

Slideshows of all the cards I've uploaded to my blog can be found at the bottom of the page.


PEOPLE WHO FOLLOW MY BLOG

Monday, 31 January 2011

Favourite Blog Award

I've very kindly been given an award for my blog. It's the Favourite Blog Award and has very kindly been bestowed upon me by Elaine (Sparklingblackrose on docrafts).

The idea behind this award is to promote little-known blogs to a wider audience.

In accepting this award, I must agree to the following:

1) Decide if you will accept the award, and if you do, create a post on your blog and show the 'Favourite Blog' badge with pride.


2) Link back to the person who gave you the award and let them know if you accept the award or not.

3) Choose 3-5 of your favourite blogs to tag. Add a link to these blogs in your post and give them the good news.

So, here are my five favourite blogs:

For unusual pressies using great (often self-made) templates, and amazing cards displaying her amazing Copic colouring:
Alex (Eisbärin on docrafts)

For just beautiful cards and almost always with a swirl somewhere:
Julie B

The Tilda Queen - need I say more???:
Teresa (Craftingallday on docrafts)

For those beautiful CAS cards that I love to make (especially when time is of the essence!!):
Kerry (Pickle on docrafts)

and last, but definitely not least, for amazing cards and often lovely, quirky images:
Katy (Craftykaty on docrafts)

All of these lovely ladies manage to inspire me in some way - and these are the places I head to first when I have brain freeze and can't seem to get my mojo up and running.

As said, the idea behind this is to promote little-known blogs (i.e. not one with thousands of followers), but there is another blog I had to mention

For amazing inspiration (what this lady can't create with her die-cutting machine isn't worth knowing I can tell you!!!):
Ikki

So thank you ladies for your tireless work and inspiration - long may it continue!

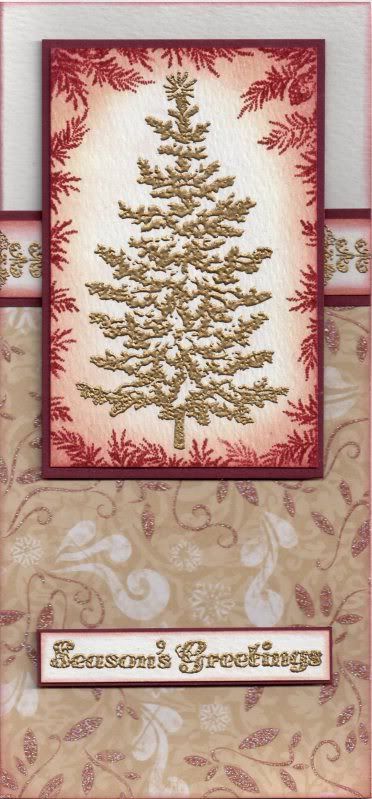
Red and Gold Christmas Tree

Well, here is the nest of my Christmas cards. As you can see, it is a fairly simple design enabling me to make them in super-quick time! (Essential when you are moving house a week and a half before Christmas!!)


The Christmas Tree image, from the Papermania Silent Night Icons stamp set, was stamped using Versacolor Black pigment ink and then embossed using Heat It Up! gold embossing powder.

The panel was then distressed using Tim Holtz Antique Linen and Aged Mahogany Distress inks and then overstamped using the Pine Cones and Branch stamp from the Silent Night Icons stamp set with the Aged Mahogany ink. The image was then matted onto deep red card.

The decorative border image from the same stamp set was stamped using the black ink, gold embossed and matted onto the deep red card.

A panel of the beige and burgundy glitter leaves paper from the Dovecraft Noël paper pad was matted onto the card blank and the border strip was matted over the join and the image panel matted over the top.

The sentiment, from the HOTP Christmas Sentiments stamp set, was stamped using the black ink and gold embossed.

Sunday, 30 January 2011

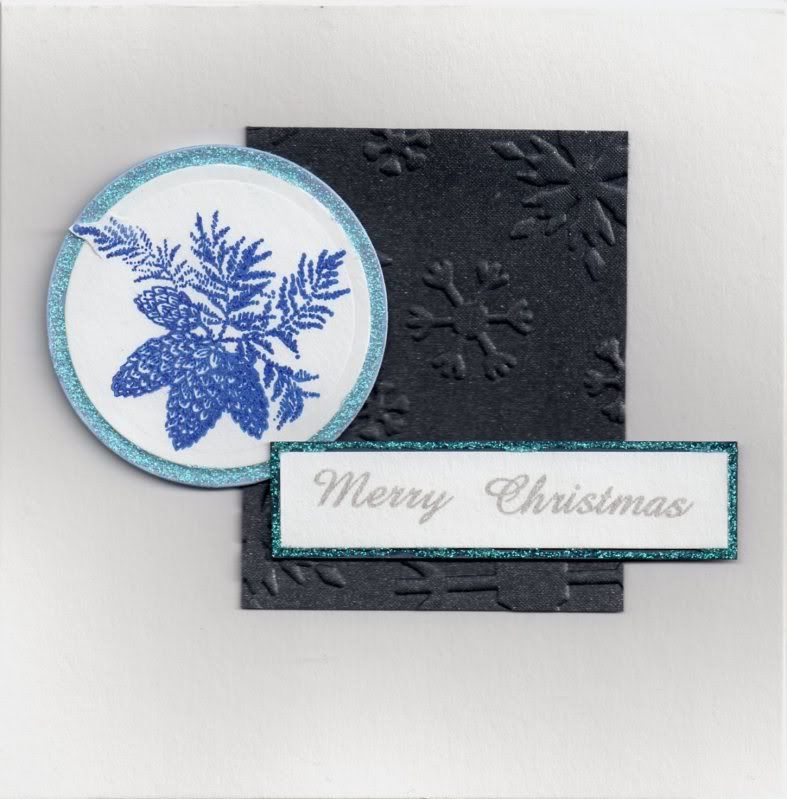
Blue Pine Cone and Branches

OK, so I wasn't sure whether or not to blog the Christmas cards I made what with it being nearly February, but, since this is supposed to be a record for me of what I've made, as well as a forum for me to show off (my cards), then I decided 'what the heck!'

So, here goes! I'll try and blog one a day (there are only 10 or 11 different designs I think, so they'll be over soon enough!!)

Here is the first one!


This card was shamelessly based on a card that the lovely Alex K/Eisbaerin made for the docrafts Creativity Magazine. Her version was dusky pinks from memory, but I decided to go with blues.

The Pine Cone and Branches image, from the Papermania Silent Night Icons stamp set, was stamped using Versafine Majestic Blue archival pigment ink. The image was then die cut using a circle Nestabilities die and the out-of-the-box technique. This was matted onto a panel of light blue card.

The sentiment, from the Papermania Gifts and Robin free stamp set, was stamped using Memento London Fog dye ink and matted onto dark blue card.

Craft Planet Ice Blue glitter glue was then added around the edges of the image and sentiment panels.

A panel of blue shimmer card was embossed using the Papermania Snowflakes embossing folder and all the elements layered onto the card blank.

Friday, 28 January 2011

I Am A Winner Over On The Cute and Girly Blog Challenge

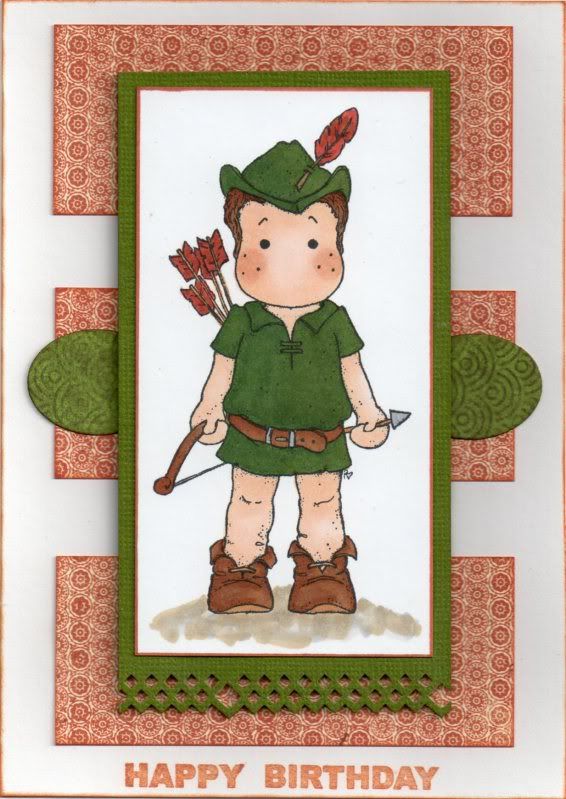
My super-cute (even if I say so myself) Green and Terracotta Sherwood Edwin card has been (randomly) chosen as a winner over on the Cute and Girly challenge blog.


I won a £10 voucher from Joanna Sheen's online store in their Children's cards challenge


You can see my original post for this card here.

I Was Chosen As A Ginger Gem

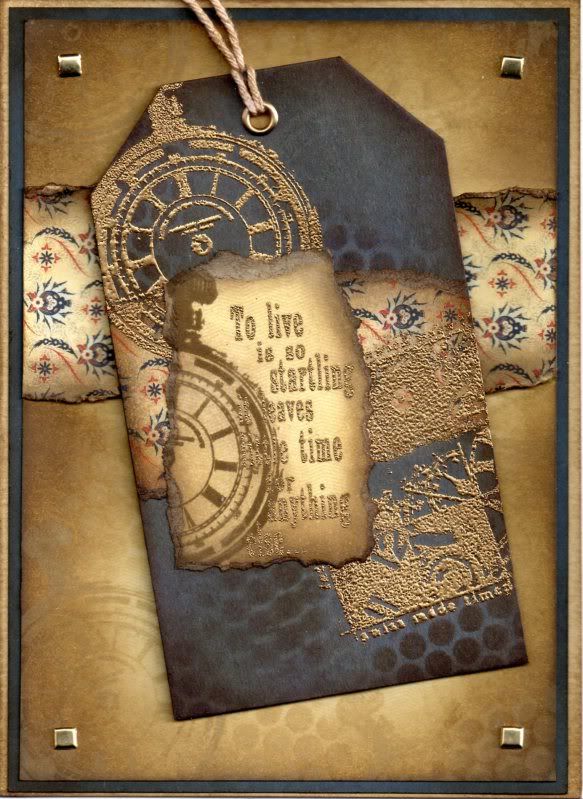
My 'unusual for me' Blue and Brown Timepiece Tag card was chosen as a Ginger Gem over on the Gingersnap Creations blog challenge.

I entered this last year but, what with the moving house and only just getting the broadband sorted, I've only just found out!!!


It was chosen as a Ginger Gem in their Vintage Hues challenge.


You can see my original post for this card here.

Sunday, 12 December 2010

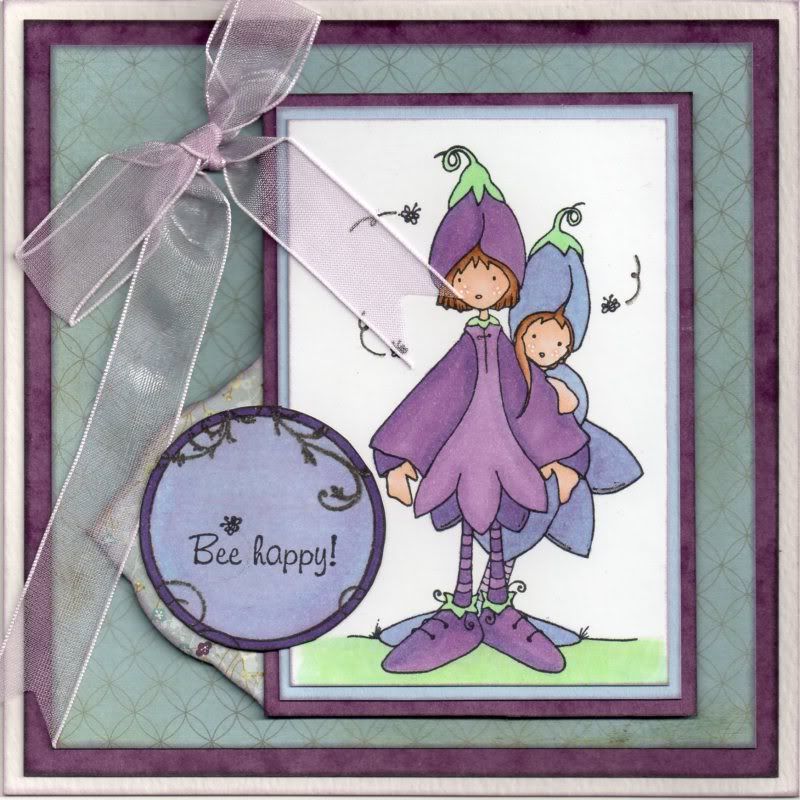
Light Blue and Violet Foxglove Friends

I can now blog this card as I know the recipient (Alex K/Eisbaerin) has now opened her card!

I fell in love with this image the first time I saw it and managed to get hold of it a few months ago. I decided to use the lovely Basic Grey Wisteria papers and coloured my image to match.


The Mr and Mrs Foxglove image, from Whiff of Joy, was stamped using Memento Tuxedo Black dye ink and coloured using Copic Sketch markers:
  • Foxglove 1: V12, V15, V17, B21, G00, BG11, YG11
  • Foxglove 2: V12, B21, G00, BG11, YG11
  • Hair: E13, E35, E57
  • Skin: E00, E21, E51, R20
  • Bees: V12, N1
  • Grass: BG11, YG11
I decided to interpret the image as two females as it's not obvious that it's a 'Mr & Mrs' image, at least I don't think so. The image was then matted onto light blue and purple card.

A panel of the Pond paper from the Basic Grey Wisteria paper pad was matted onto the purple card and then onto the card blank.

Using the Violet paper from the same paper pad, a panel was die cut using a Labels 3 Nestabilities die and attached behind the image panel.

The circle flourish stamp from the Fiskars Harlequin Charm stamp set was stamped using Versafine Onyx Black archival pigment ink and cut out along the outer edge of the circle. The sentiment from the Foxglove stamp was stamped in the centre of the circle using the Tuxedo Black ink and the circle was then coloured using the Copic markers:
  • Sentiment panel: V17, B21, V12
This was then attached over the Labels 3 panel and the edge of the image panel.

A bow was created from lilac organza ribbon using a bowmaker and attached in the top left corner of the card.

Highlights were then added to the image using a Papermania Snow White gel pen and to both the image and sentiment panels using a clear Sakura Stardust pen.

Here are the challenges that I am entering this card into:
Blog Widget by LinkWithin